Homemade Butter

posted by:  andy burger, february 4, 2025

HOMEMADE BUTTER (One Ingredient)

Takes about 20 minutes –

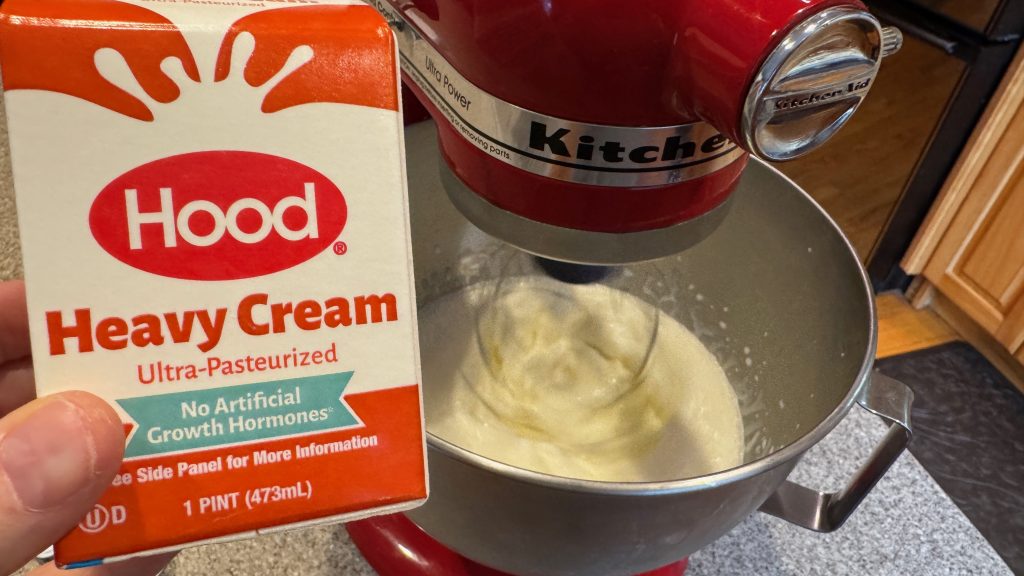
  1. Get a pint or quart of heavy cream at least 36% milk fat

  2. Get your handy dandy mixer ready- put your mixing bowl in the freezer for 5 minutes prior- you want it cold.

  3. Pour heavy cream into mixing bowl and start mixing on medium high

  4. In 3 minutes – it becomes whipped cream.

  5. Turn off and scrape everything from the sides back to the middle. Turn on again and keep mixing.

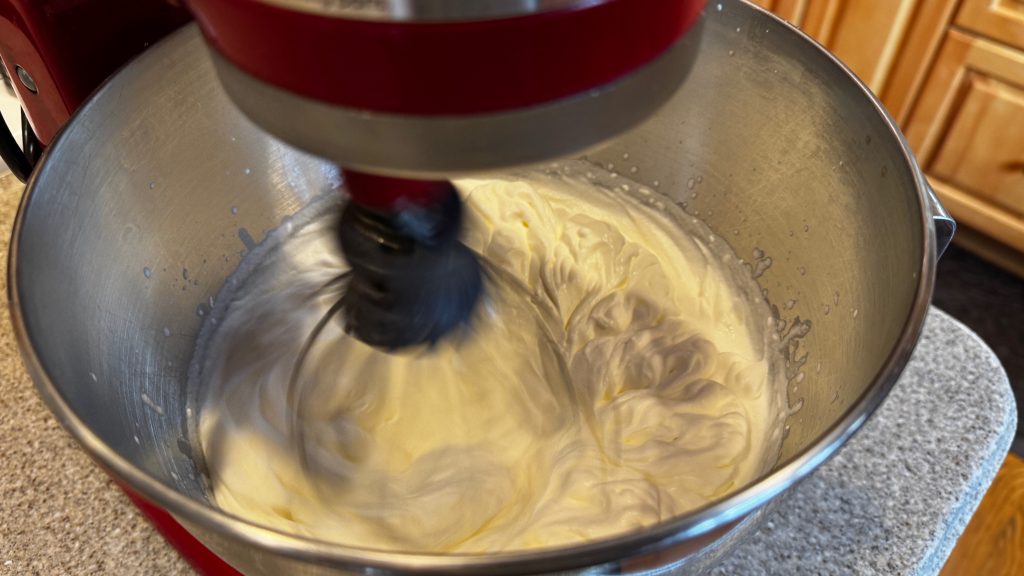
  6. Roughly 10-15 minutes later it will start to harden and will become whipped butter. Turn off, scrape to middle, turn back on.

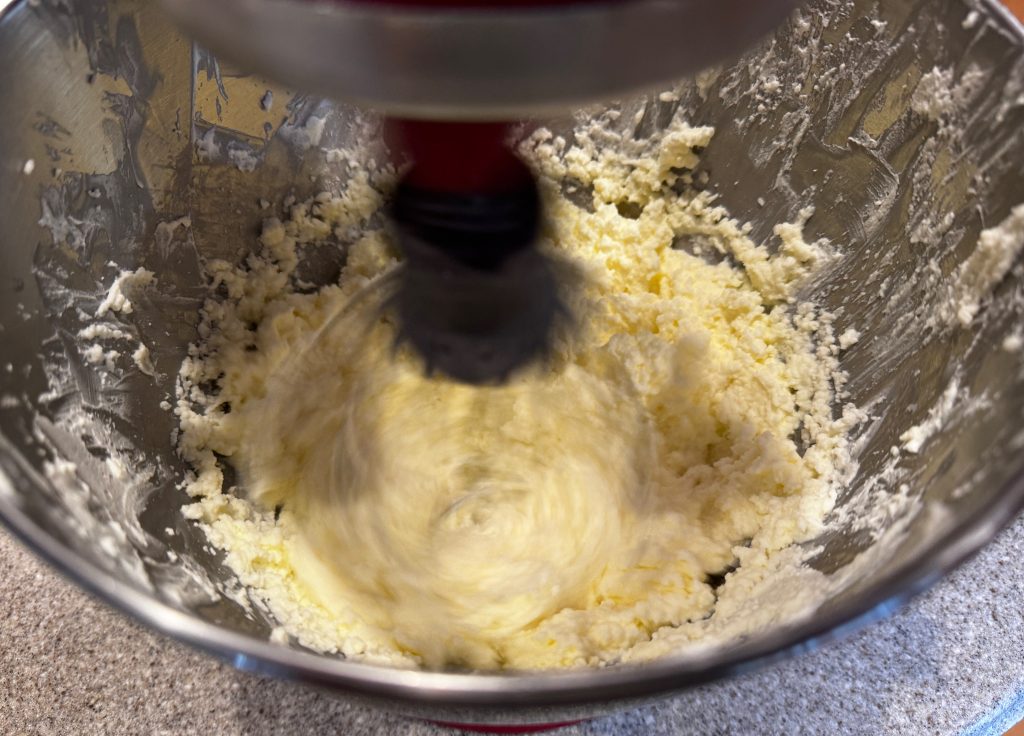
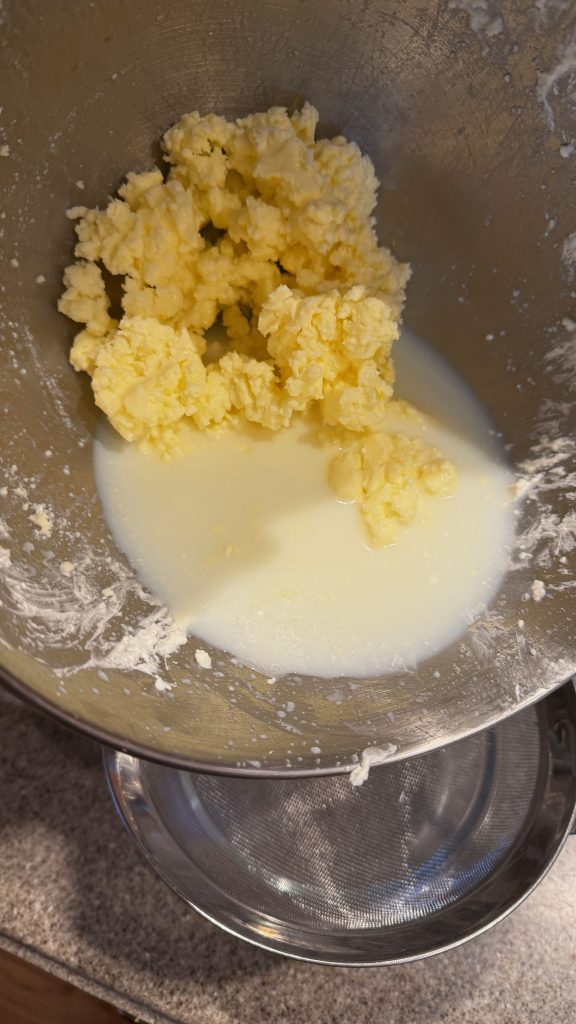
  7. 5 minutes or so it will start separating (milk liquid will be very liquid) and the butter itself will harden more.

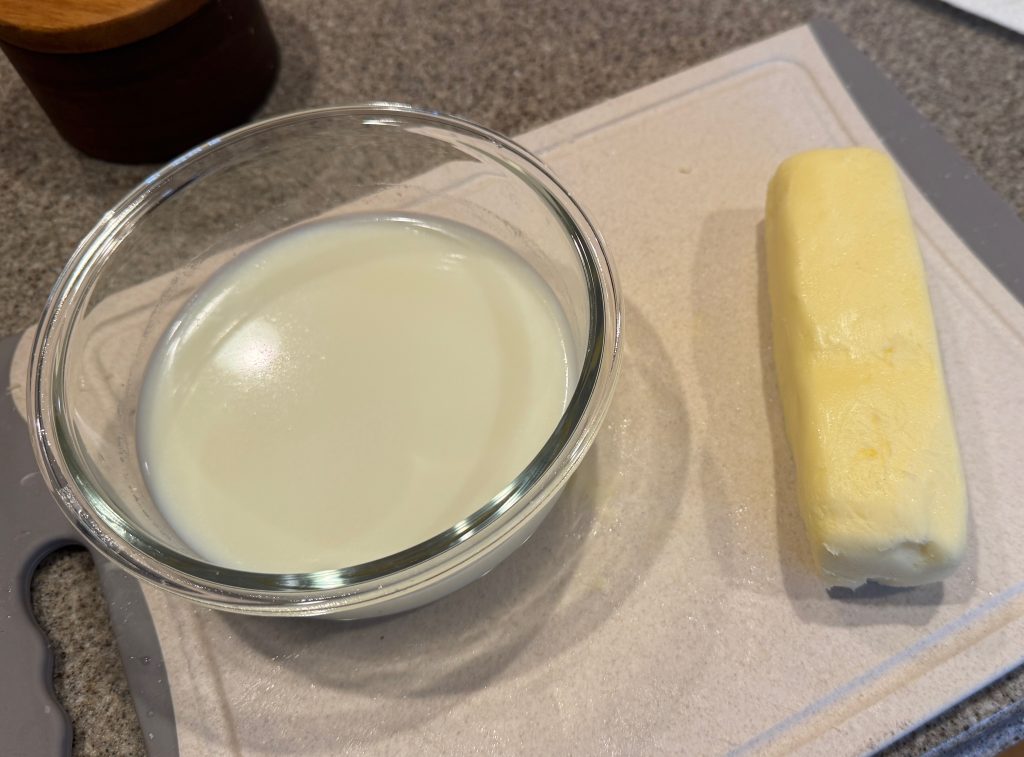
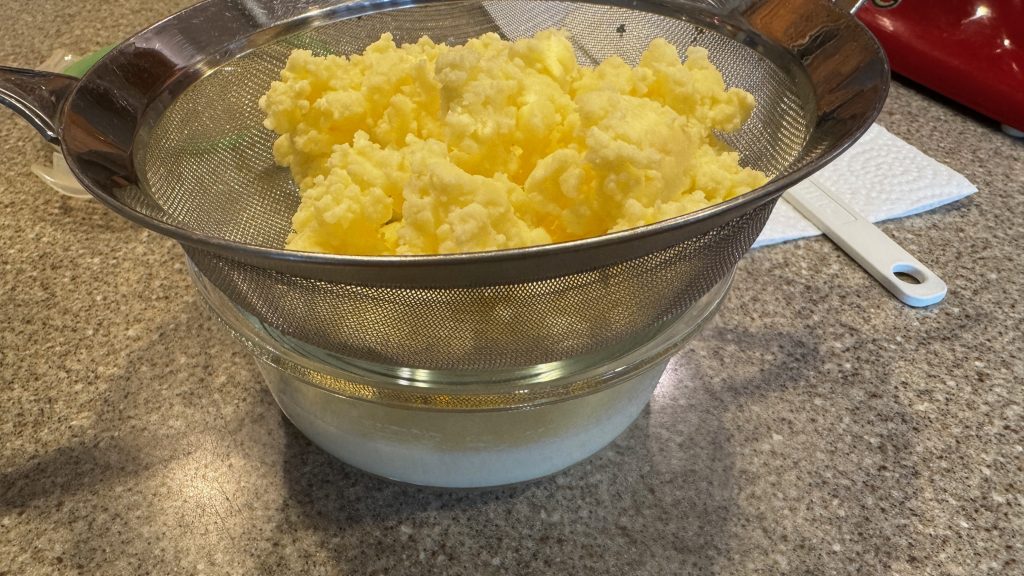
  8. A couple more minutes and liquid (which is now butter milk) can be poured out through a strainer leaving only the butter itself.

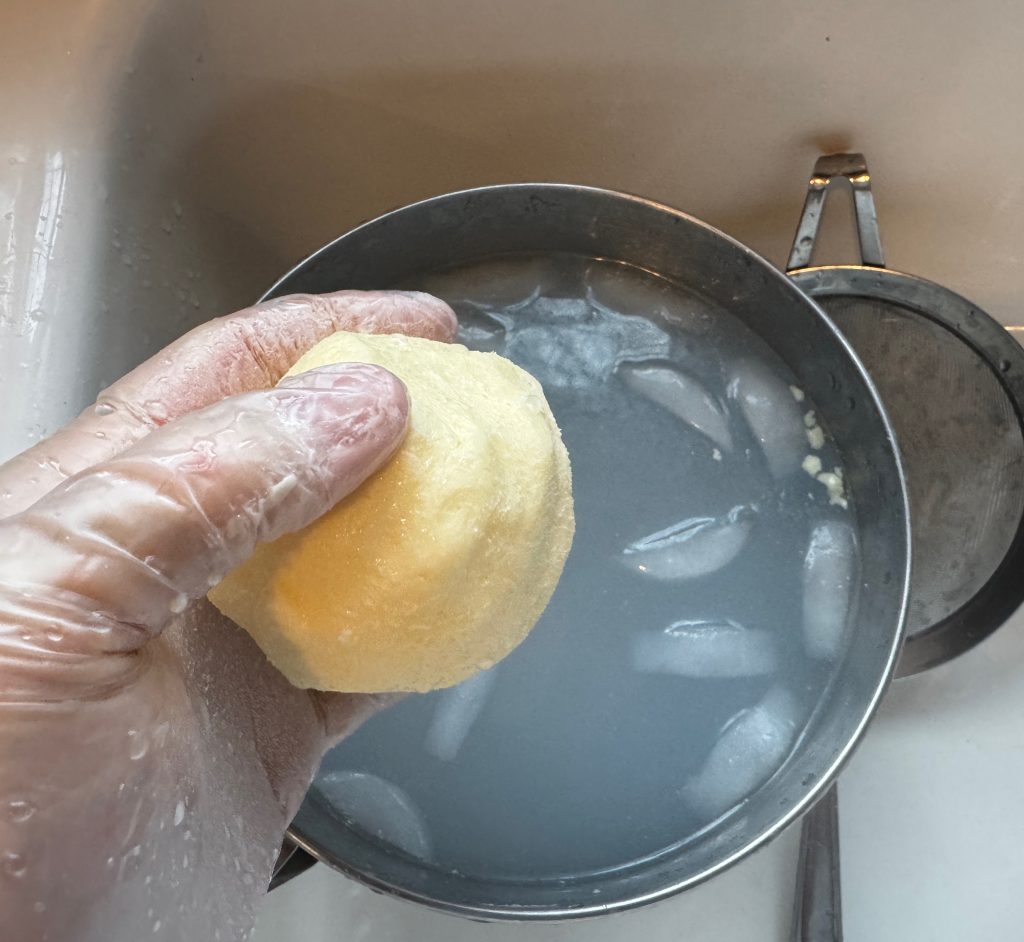
  9. In a cold ice bath. Ball up the remaining butter and squeeze and work until the liquid coming out is almost clear. Basically you are ringing out the remaining butter milk from the solid.

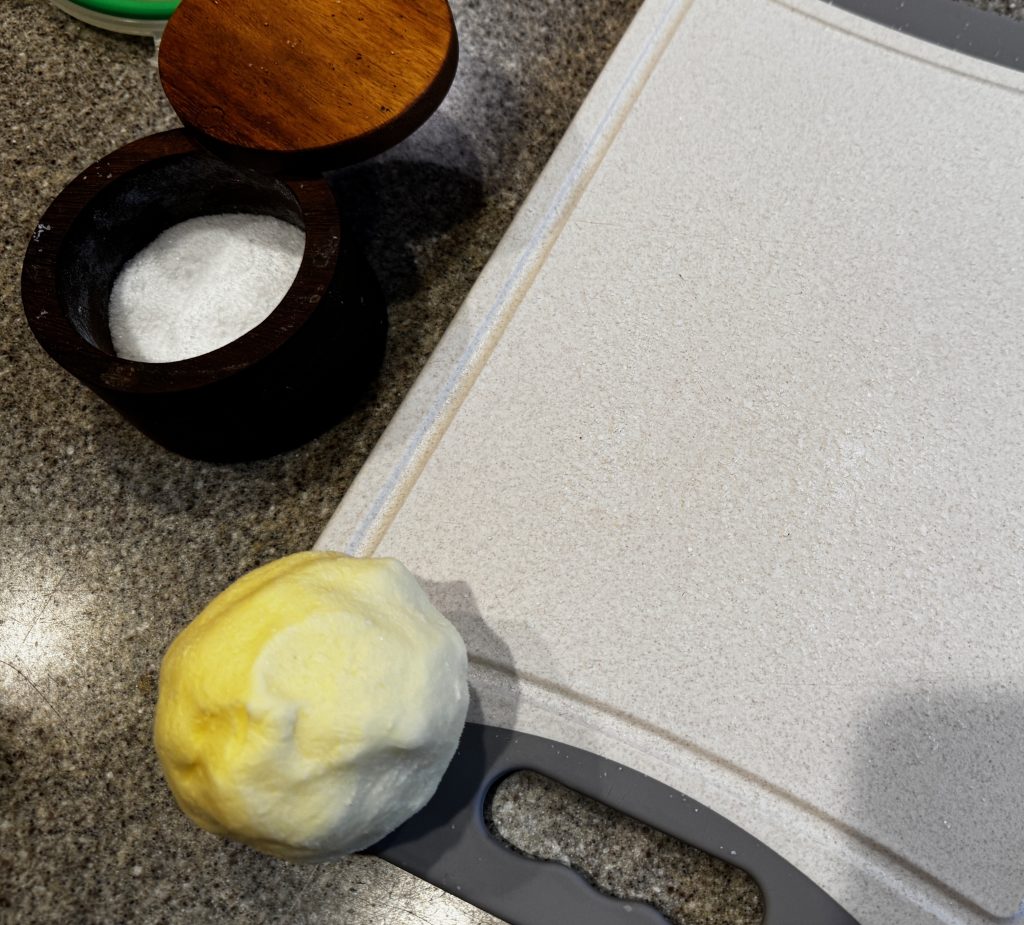
  10. On a cold cutting board, sprinkle some kosher salt and work into the butter shaping as you go….. whallah- you have salted butter. If you don’t use salt you have unsalted butter. If you add a teaspoon or so of honey and work in- you have honey butter.

  11. AND you have some left over buttermilk to marinate those chicken thighs or breasts you were thinking about frying up 😎❤️

Enjoy the Step By Step Photos
Step 1 - get yourself some heavy cream at least 36% milk fat
Step 2: Start mixing on meduim-high, in 5 minutes you'll have unsweetend whipped cream
Step 3 - keep mixing after whipped and it will start to harden
Step 4 - Keep mixing until you see the butter separate from the "Butter Milk"
Step 5 - Strain off Butter Milk
Step 6 - In cold ice bath, ball up and squeeze until water runs clear from butter
Step 7 - On cold cutting board, work in some salt and mold to the shape you want.

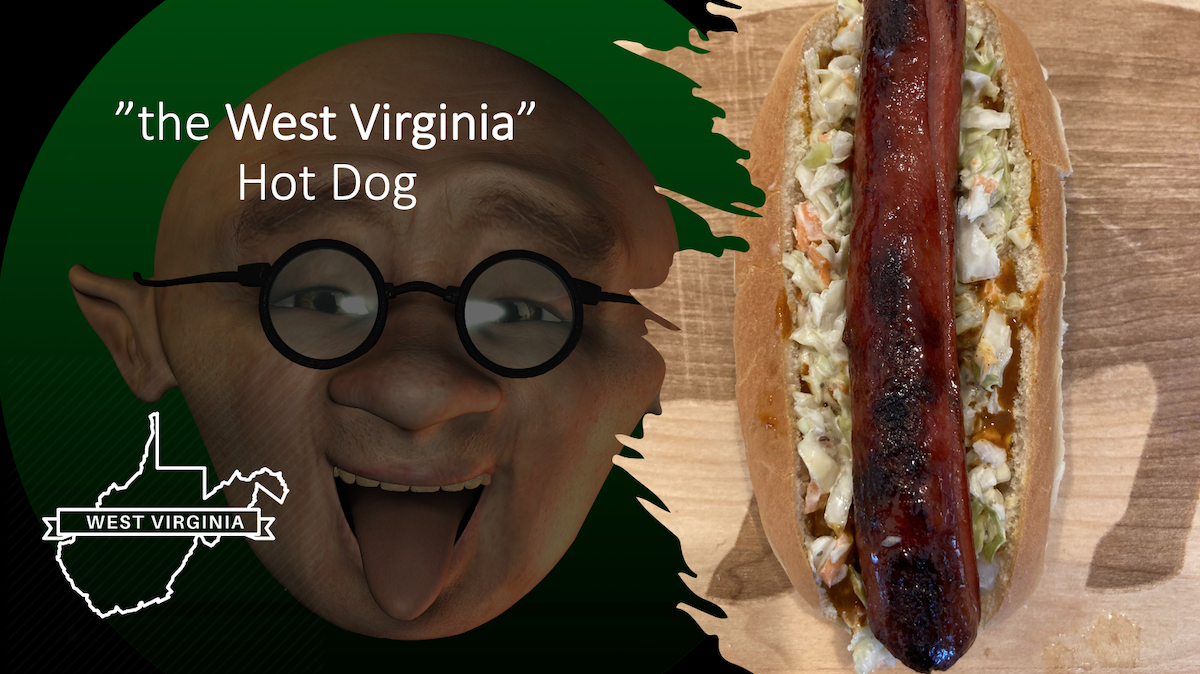
the West Virginia hot dog

posted by:  andy burger, january 10, 2021

if you are from West Virginia and know the true nature of a West Virginia hotdog, you may pick up a tip, if you are not from WV, you will be exposed to a culinary delight.

at iBuggy, we’ve captured a version of a true West Virginia Hot Dog and the madness around my method.  I’ve had a mustache for 35 of my years of my life and you adapt in some basic things over the years by having the caterpillar on your face – simple things you have to deal with that other clean facers don’t have to deal with 🙂

The Toppings: onions, mustard, chili and sweet southern coleslaw – The ORDER of of the toppings as listed (very important)

West Virginia Hot Dog making and assembly at your own risk….

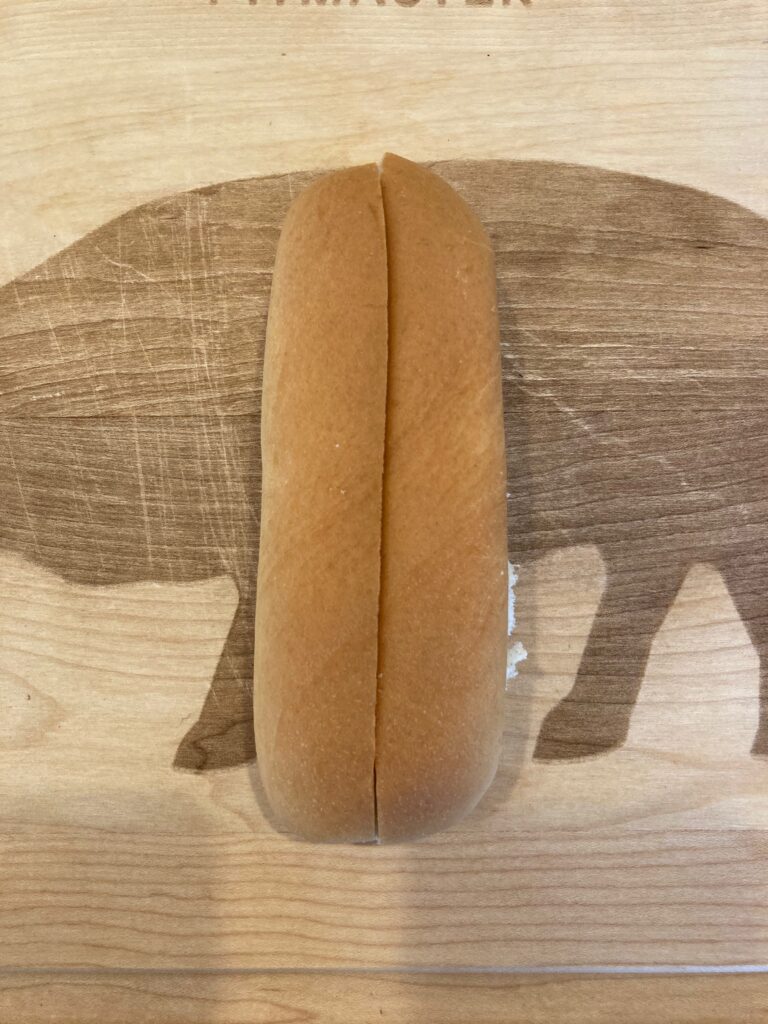
Step 1:  Top Sliced Hot Dog Buns ONLY (you can fit more stuff in them), HOWEVER, you must hollow them out some, to make room for the condiments, because in the end really its about the condiments – you can take a very very average hot dog and turn it into Magic with the right condiment combination.

Step 2:  Lightly toast the bun with the hollowed side up – just lightly to crisp up the inside just a tad. This helps from the liquids to not permeate through the bread to the bottom and make a hand mess

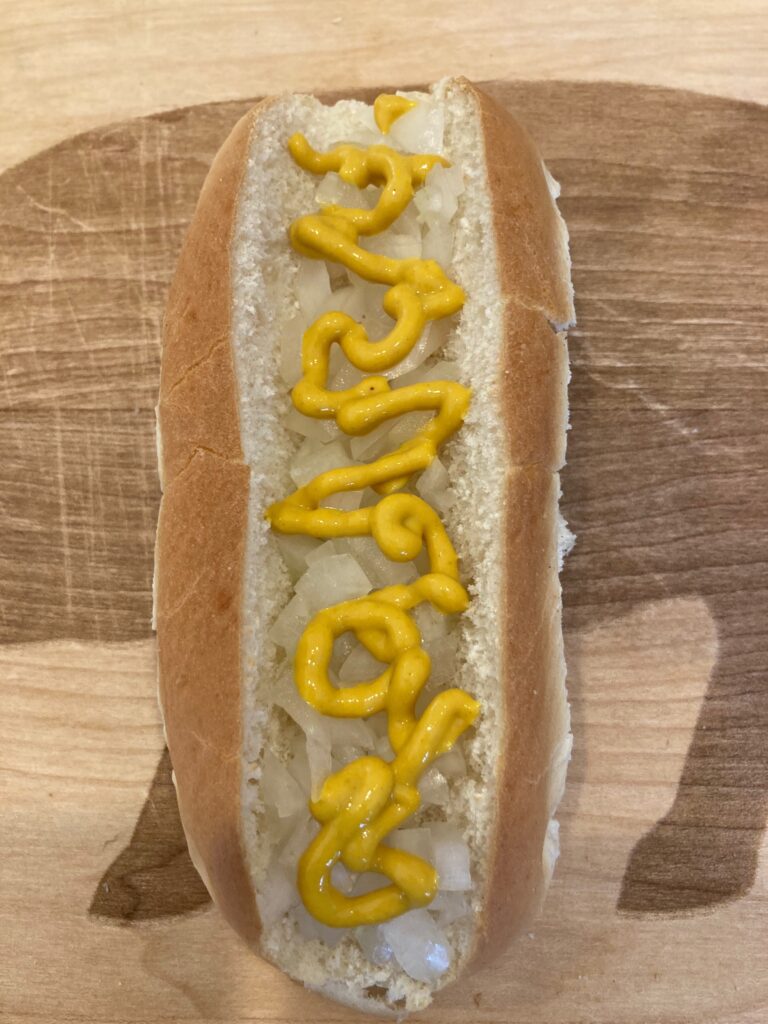
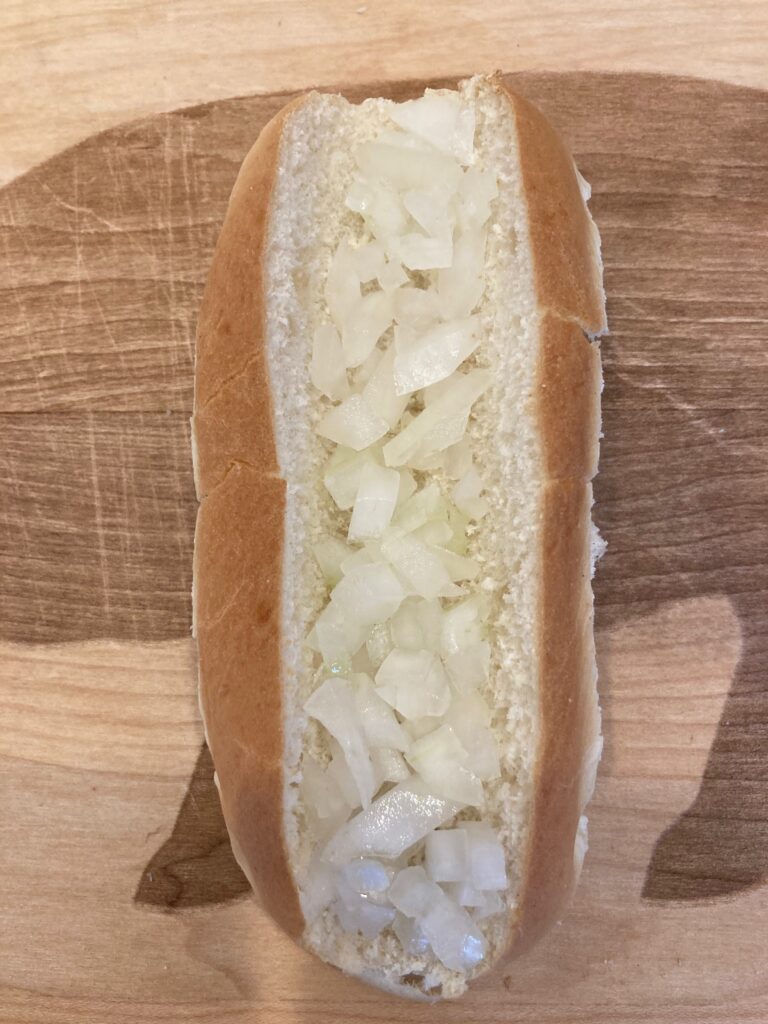
Step 3:  Diced onions on bottom first. This creates a foundation barrier and they all stay together and don’t fall off everywhere protecting the soft bead underneath

Step 4:  Mustard of your choosing – basic Yellow is mine. Mustard on top of the Onions helps seal some of the cracks and crevices but also helps keep the onions together

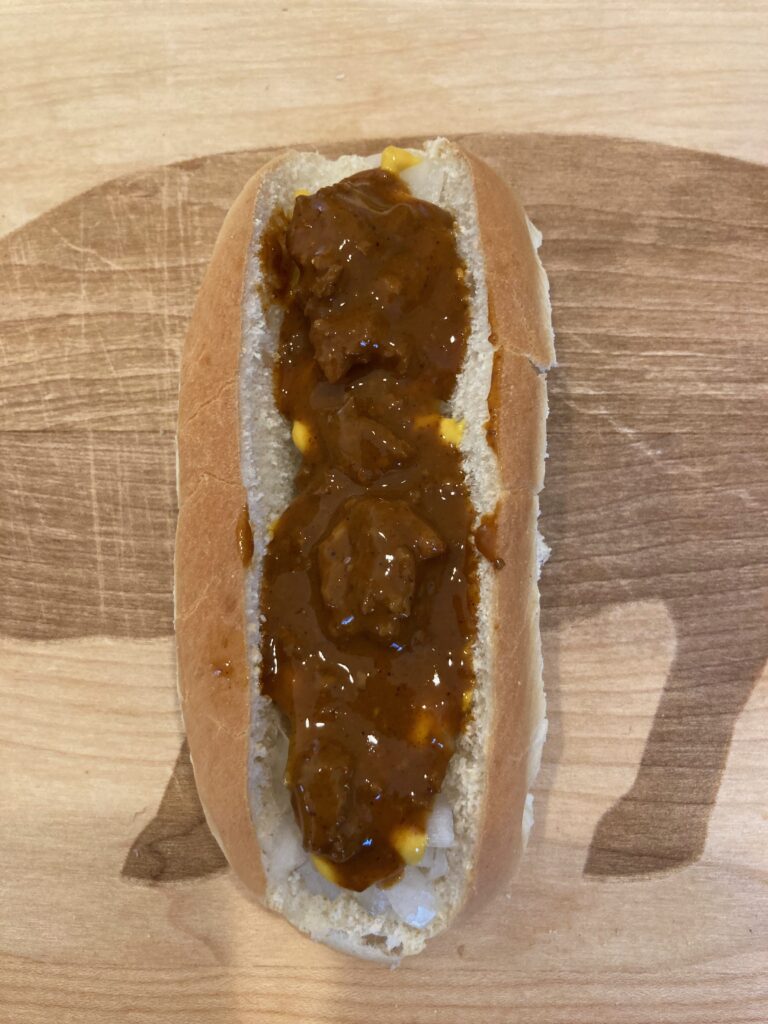
Step 5:  Chili – No Beans – Canned Hormel chili is amazingly perfect Hot Dog clili. Not for chili eating, but hot dog chili, really doesn’t get any better

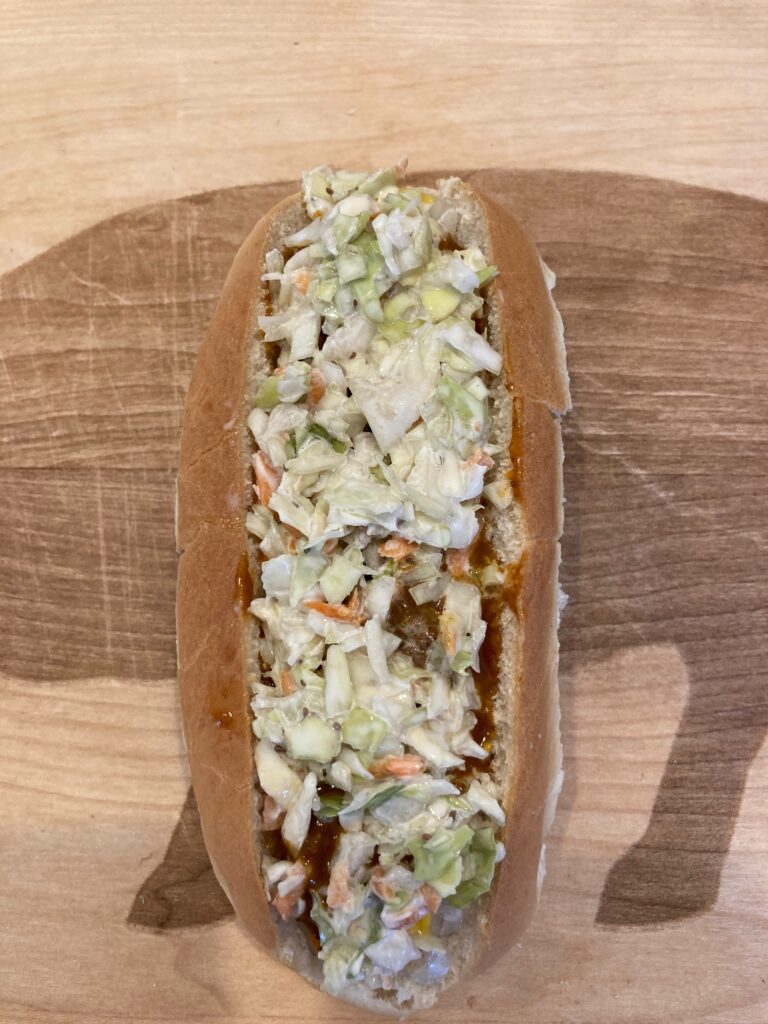
Step 6:  HomeMade Creamy Cole slaw (on the sweeter side) – Spread the bun out (make it wider) just a tad then cover the entire top with a nice layer of Cole Slaw

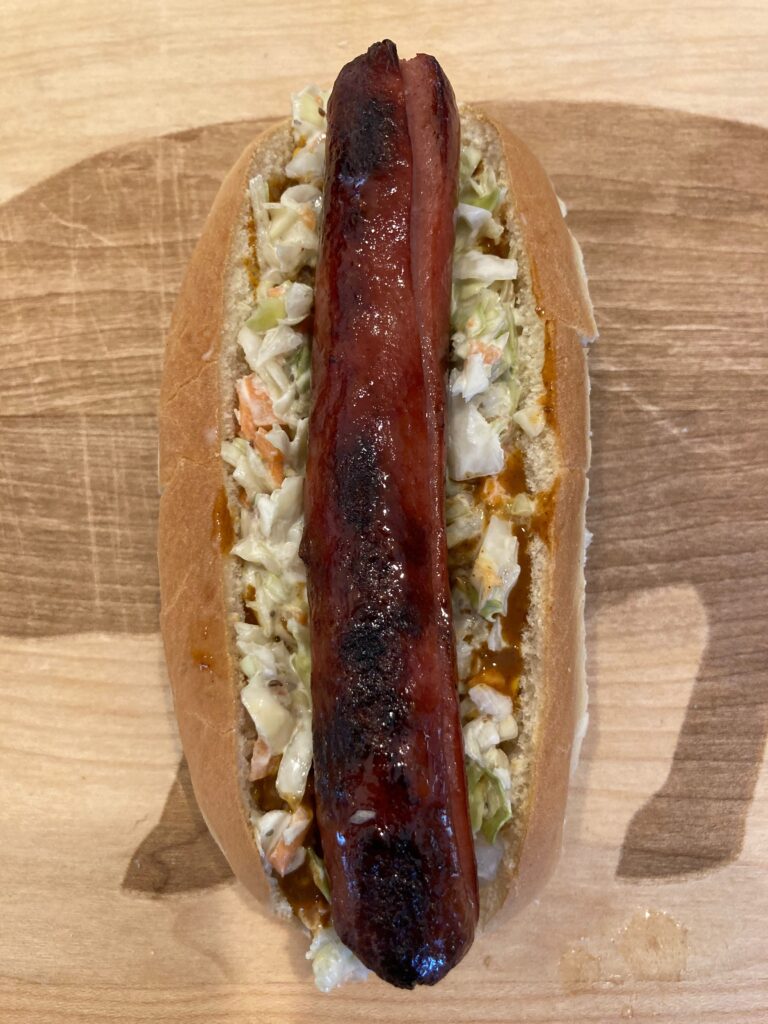
Step 7:  Simply lay your doggie on top, and take a bite that will be amazing. Dog on Top, Dog on Top – you’ll thank me later 🙂

so why coleslaw as the last topping? That helps seal in the Chili from dripping out everywhere. …. I know the order will create debates on non-traditional, how it looks, etc….. But at the end of the day, its not about how it looks, its about how it tastes and how it stays together – AND MORE IMPORTANTLY for me – my mustache thanks me.

So why isn’t it listed how to cook a hot dog properly?  Well, it really doesn’t matter, its all about the toppings and how you assemble them.  Feel free to use a dirty water dog, grilled dog, boiled or fried dog – it won’t really matter.  But, as shown, this is a grilled Nathan’s dog.

Enjoy the Step By Step Photos

the top-sliced bun
Step 4 - the mustard
Step 7 and the "doggie on top"
Step 1 - slice/make room
Step 5 - the chili
Step 3 - onions down first
Step 6 - the sweet coleslaw
last step- the perfect bite 🙂